In this post, we will explain step by step how to configure your WhatsApp Widget.
– Basic information for your Widget –
What is a Widget?
In a short sentence, the widget is an application, or a component of an interface, that enables a user to perform a function or access a service. As it is known, it first appeared in the early 1930s with the term gadget, and by evolution, it has been called a widget, because it performs unusual functions, additional procedures, and techniques since its implementation.
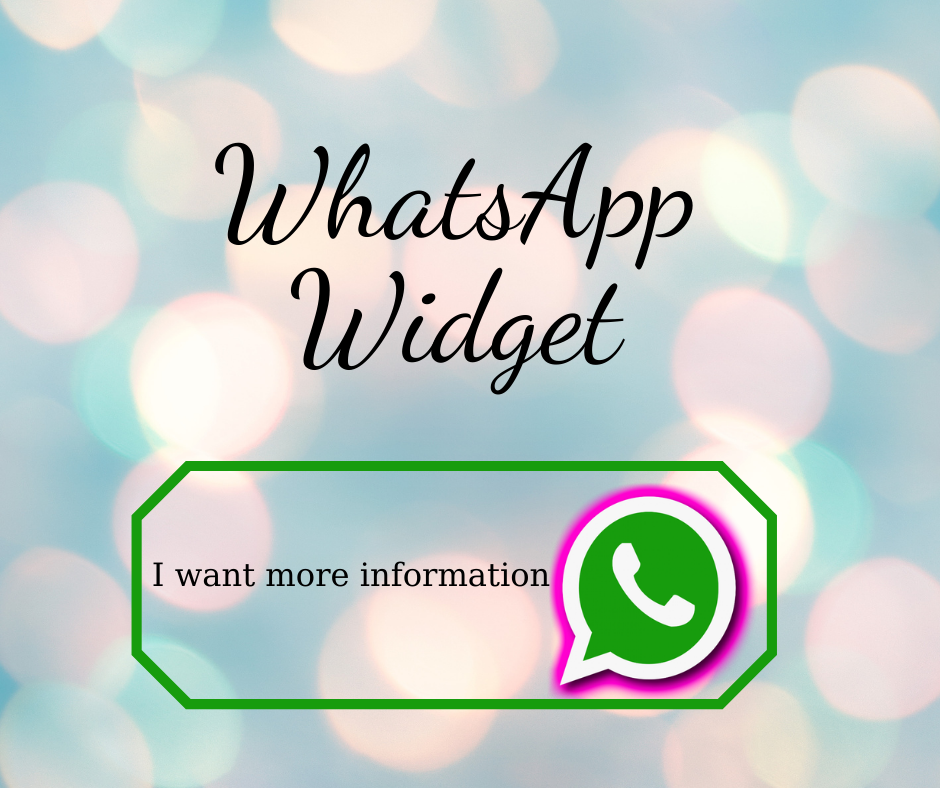
WhatsApp Widget 💥
Is a green bubble with the WhatsApp brand icon. Install your WhatsApp Widget and it will appear by default. That button allows you to chat with agents, clients, partners, etc.] Also, integrates, places recent conversations to the center for easy access, and starts chatting.
🛑 Watch the video about making your WhatsApp Widget here!
Step 1 – How to create a WhatsApp Widget?
All you have to do is log in to the Tochat.be website, create your personal account and follow the instructions below to create your WhatsApp Widget.
For the widget, there are two plans, there is a free version with limited functions, that will serve you to test our tool.
The other version has an annual cost and has no limits, you will love it.

After clicking on the Widgets icon (light-green WhatsApp cycle shape) on the Tochat.be web page’s toolbar. You will find it next to “unlock your premium account!”
Insert to the
platform for creating your unique WhatsApp Widget and click on the plus-sign Add Widget, το create a new ONE! (Or your first ONE!)
~ Further Steps ~

Add a name, the purpose of your WhatsApp Widget creation. Οtherwise, you could add business information to connect with the correspondents or recipients you are going to reach.
Button message. Type the text, which will enter in your Widget. A small passage, to correspond to its existence and direct the user to start the conversation. The so-called summary call to action for the interlocutors.
Widget message. In this box, add your business details, inform your stakeholders about the status of your company. Give examples of what you do, who you are, and what your company does, so that the user is informed and influenced to click on your Widget. Example: <<Use our WhatsApp account for support and sales>>.
- Choose an icon. You can find it from our gallery collection and or upload an image about your business or your purpose to justify the creation of your little icon. And press Continue.
Choose an icon
Or
Choose a Logo for your new Widget
Categories. Select your company’s field or the work type from the category list, like Agency/SEO/Design, Dating, E-commerce, etc.
***Much more you can configure your own unique WhatsApp Widget, as you are in the process of editing, the small canvas to the right of the original processes, helps you see the changes you add to your gadget and make corrections.***

Step 2 – Configuration for your WhatsApp Widget

Mission 1: Personalize how your Widget works and looks
After the first info-details required to fill in your profile, continue to edit the built-in properties of your Widget, so that it looks special, individual, and personal.
~ More Further Steps ~
Color. Configure the color of your choice, the color that the ball of your little interactive WhatsApp tool will display. The color palette is mixed in the application. Open it and select one.
Position widget to the right of the screen. Move the Widget mark to any part of your screen that looks more productive and fits better. The location to be displayed should be visible and help the user, still determine its use-value.
Widget is active. Activate the status of your gadget. Simple procedure to look active on your channels
Show Widget opened on page load. The widget will remain hidden by default if a triggered message is sent while using the hidden API. Choosing the wide-open content Widget without the above procedures entices your agents to immediately send a message.
Turn off cookies. Do you want to keep this information stored on your computer from a website you visit? In some browsers, each cookie is a small file, but on Google, all cookies are stored in a single file, located in your profile folder.
Next to them are the paid options, to unlock them you need to pay a small fee, $ 20 per year for premium use of the Tochat.be page
The List with the options
Only show active agents.
Show one random agents
Hide widget if no one is online.
Open the first available agent with a form.
Show the widget only once per session. (Cookies must be enabled for this option to function)
Capture lead in desktop mode
Capture leads for offline agents
Open the first available agent with a form. The second time it appeared.
Step 3 – More options and publishing your WhatsApp Widget

Mission 2: Add a banner to your Widget
Activate your banner. Turn on the transmit the image to your Widget. Also note that with default and standard images, the widget becomes more receptive to your audience!
Choose some templates (wallpapers) for customers.
or
Banner Link. Upload your website, logo, or campaign for your company agents. Combined with the banner image, there will be hidden behind-the-scenes access to web content services that will lead them to a single clicked URL.
Below the Widget message for your company information, the specific banner or template image will appear as a small pic.
Mission 3: Activate/Deactivate by country
Country activate: Its content consists of a 3 line list.
- Function in all countries. It does not matter in which countries it will appear, WhatsApp Widget is visible in all countries.
- Block in these countries. Make a list of countries that will not be displayed. Hide your Widget from these default countries.
- Activate only in these countries. Instead, select only the countries where you want your Widget to appear.
Select a section from the above and the countries from the next column “Country” .Μake your choices to fit each other.
Τhe most important step!
Click the Update button. The last but very valuable process is to execute the command you request! So, with this bottom, select to save and post your changes.
One more thing, it is not necessary to edit all the above data we give you to create your Widget. You can complete the process with a few basic steps and create a simple Widget without adding extra features.
It is your choice to try to add more features, but they are still intuitive and not necessary to receive a straightforward Widget. For example, you can skip all the missions and a few pieces from the original creation, so that your Widget remains simplified. Our company has extensive experience in the field of WhatsApp and can help you in every step, it can guide you and advise you on setting up WhatsApp Widget.
Contact us for additionals