In this article we will teach you how to get the most out of your ChatWith account.
Before starting step by step, we leave you a demo video of the entire tool. Click here to watch the video.
In addition, by clicking on each of the steps, you will be able to see a video that will help you with the configuration of the tool.
🦉Didn’t this version cover you? Read the translation of this article in:
Step 1: Create your ChatWith account
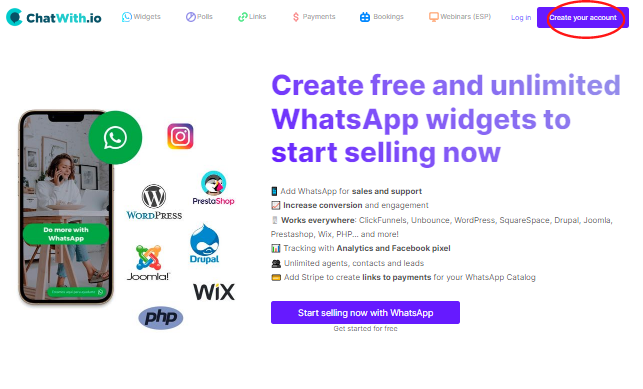
First of all, in order to start we must create an account in ToChat.be, for this we go to the upper right part of the screen and click on Create your account.
The next screen we will see will be the following:
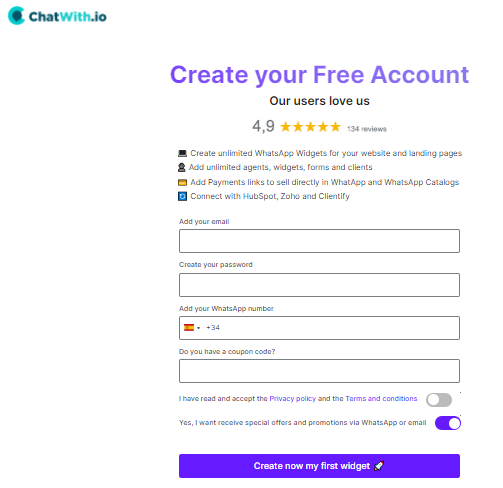
To fill it out we need our email, a password and a phone number.
Step 2: Create your Widget
Once we have created our account, we proceed to the creation of the widget. For this we must enter our account. Once we have entered, we go to the upper left corner and click where it says Widgets.
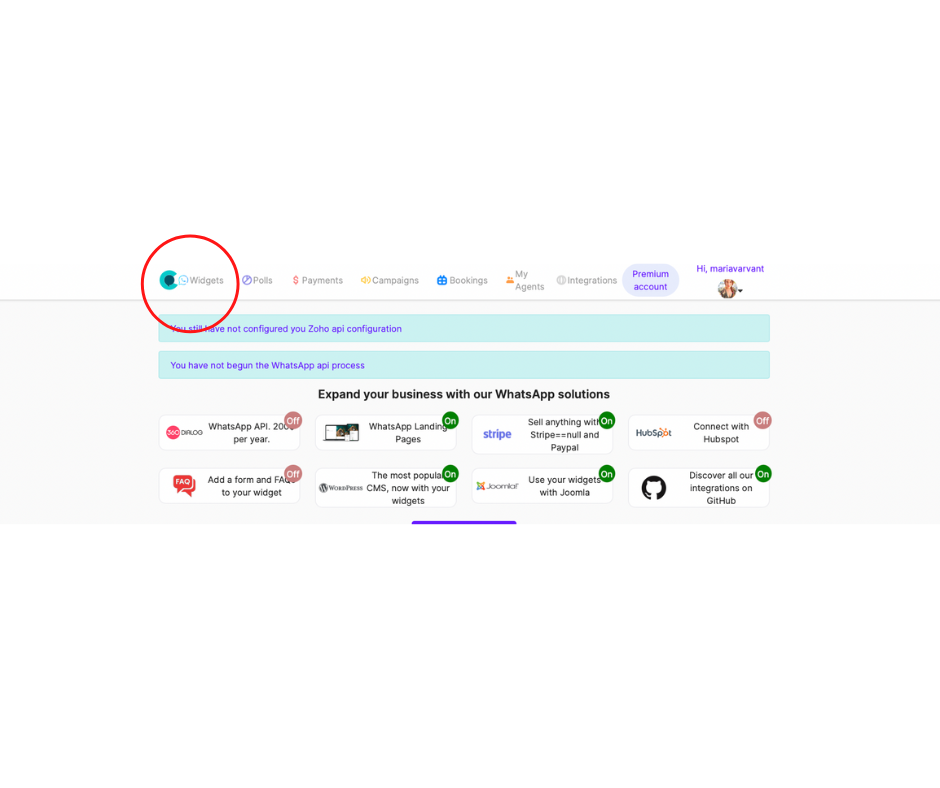
This will take us to the Widgets section, click on the Add Widget button, located to the right of My Widgets, to create a new widget.
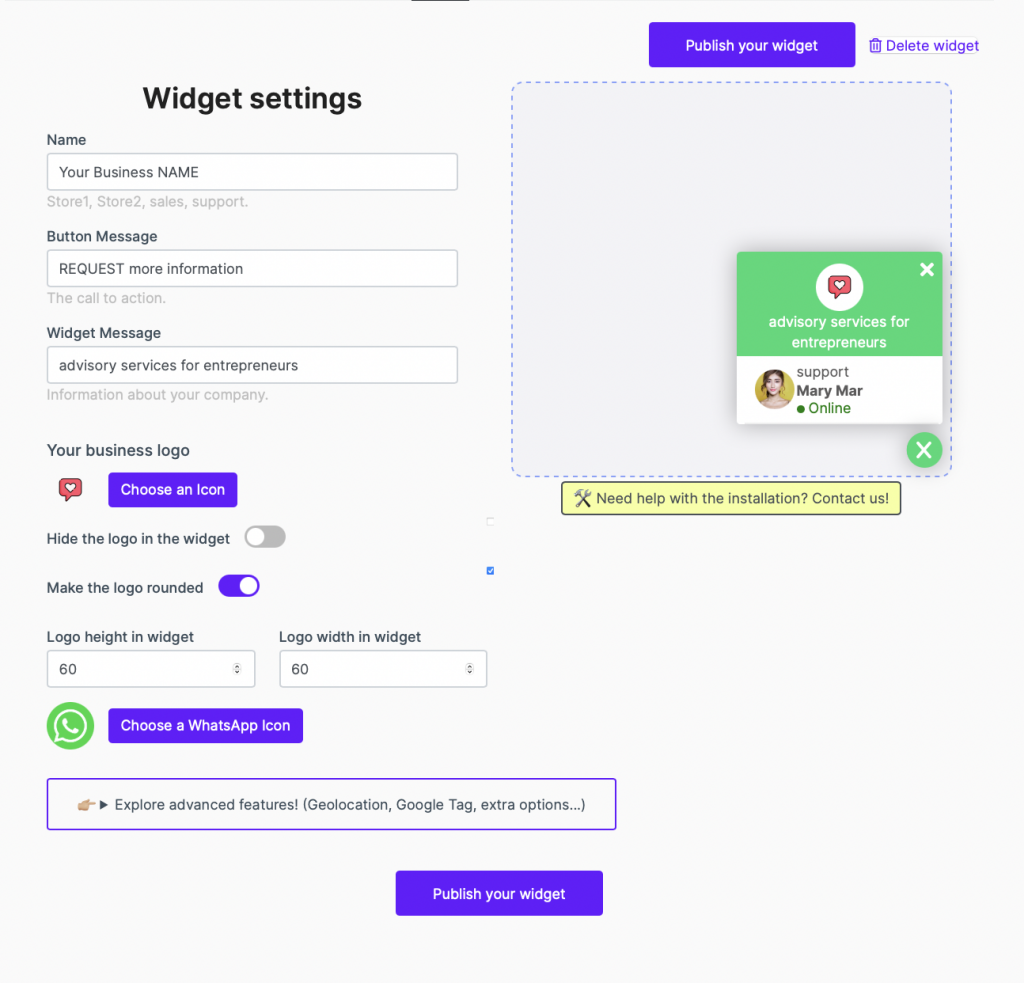
The first thing we have to enter is the name of our company. Later we will fill in the message button, in which you can put, for example, I want more information. And finally the Widget’s message, which will be about the company. In addition, below we can add our company logo. An example is shown in the image above.
Once we have filled in all the fields, click on the Publish your widget button at the bottom of the screen.
Once we have published the widget, the option to create an agent will appear on the screen.
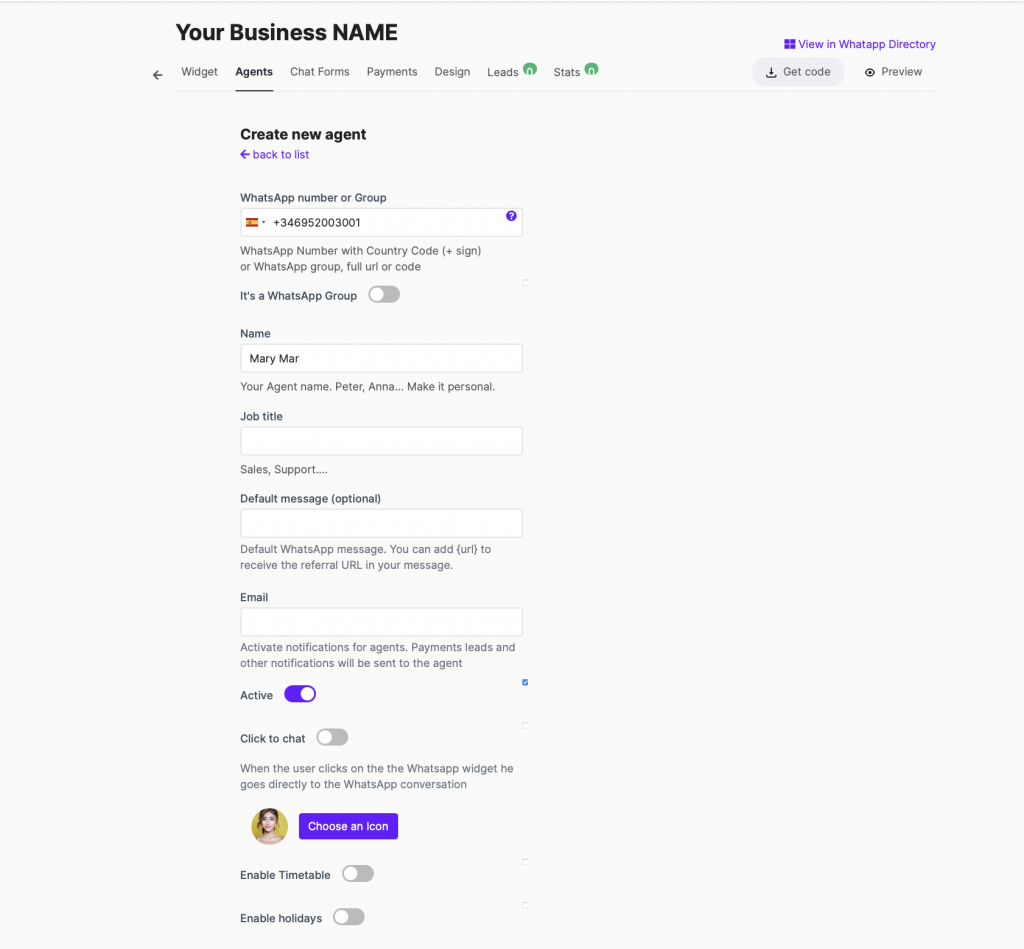
We must fill in all the sections with the agent’s data: the telephone number that he is going to use, his name, profession/position… etc.
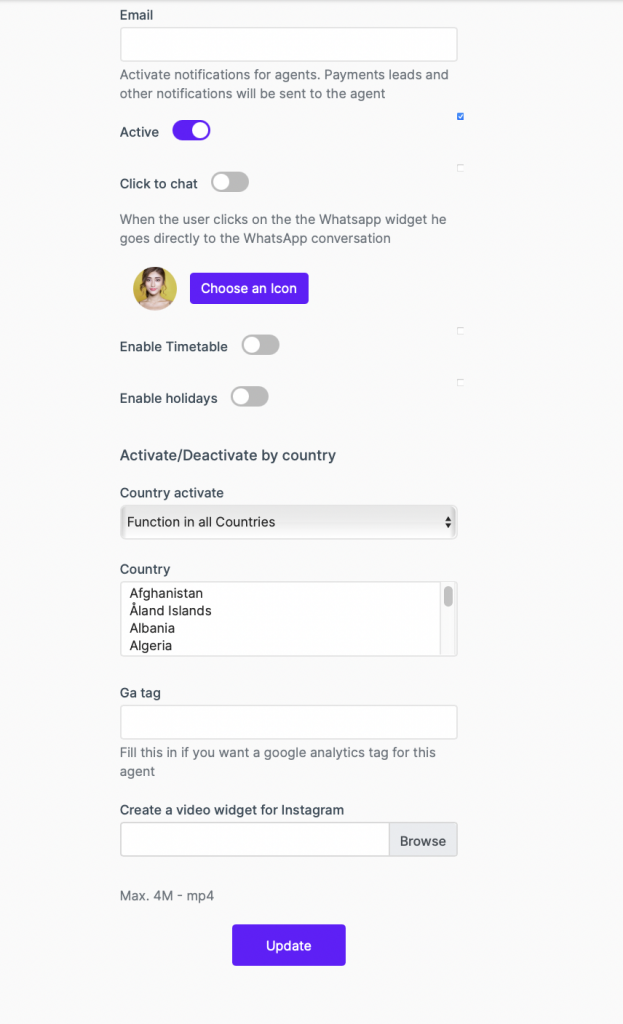
You can also select an image or icon for the agent, in addition to indicating the hours in which it is available by clicking on Add hours to the agent and even choose the countries in which it will be available. You can also add your Google Analytics code to track in the Ga tag section.
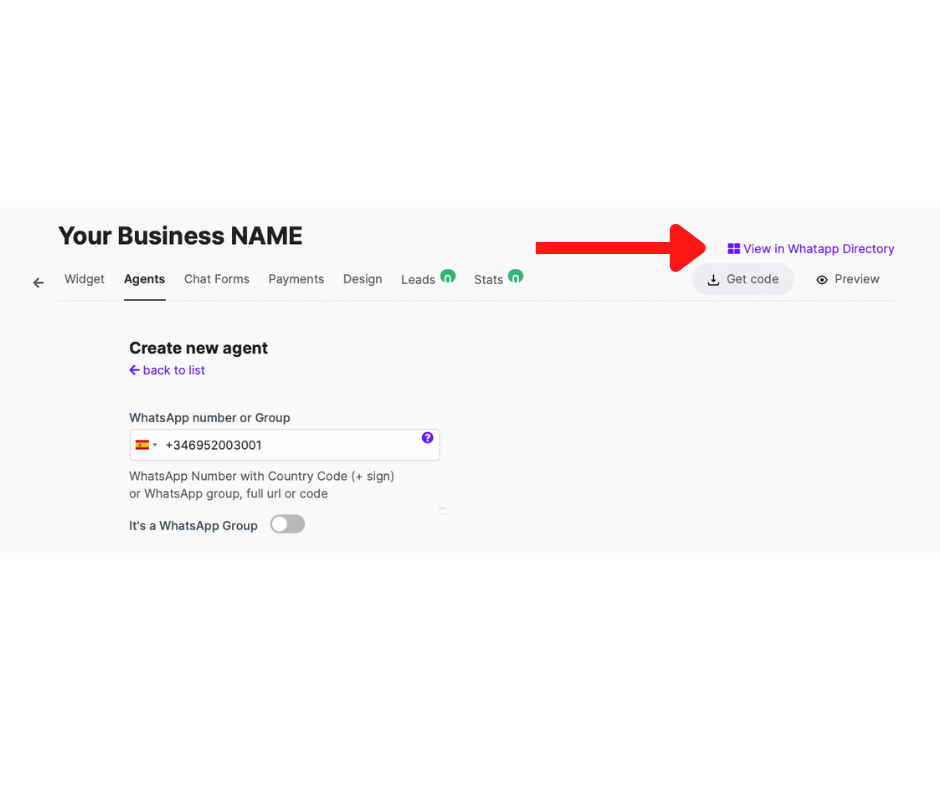
Once we have completed all the fields, we click on Update and we will have already created our first agent. To be able to see how it will appear in our Widget, click on the button View in the WhatsApp directory, located in the upper right.
Step 3: Create a form for your WhatsApp Widget
Now we are going to create a form so we can add it to our widget. To do this, click on Chat Forms and then on the Create Form button; we choose the template, in this case I am going to show you an example with the Sales Form template.
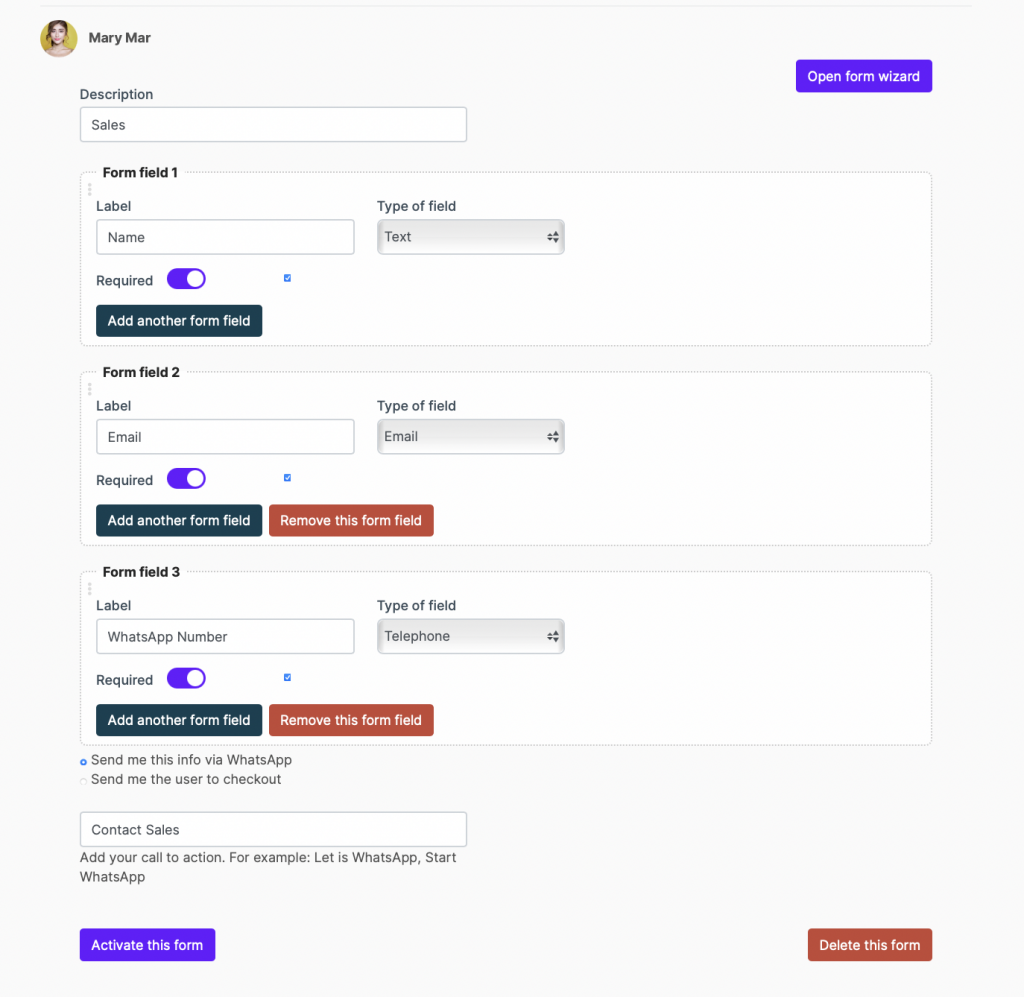
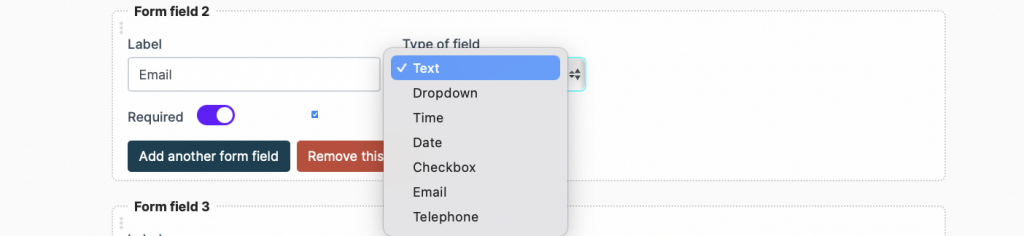
By default we get the form with a section for the name, email and phone number. In the event that we want to eliminate any of these fields, we only have to click on the red button Remove this field. If, on the other hand, we want to add a new field, we must click on the Add another form field button. If we click on this, different options will appear: text, select, time, date, checkbox, mail and telephone. You just have to choose the one you prefer and fill in the fields.
To finish, click on Activate this form. If we click again on View in the WhatsApp directory we can see how it is looking.
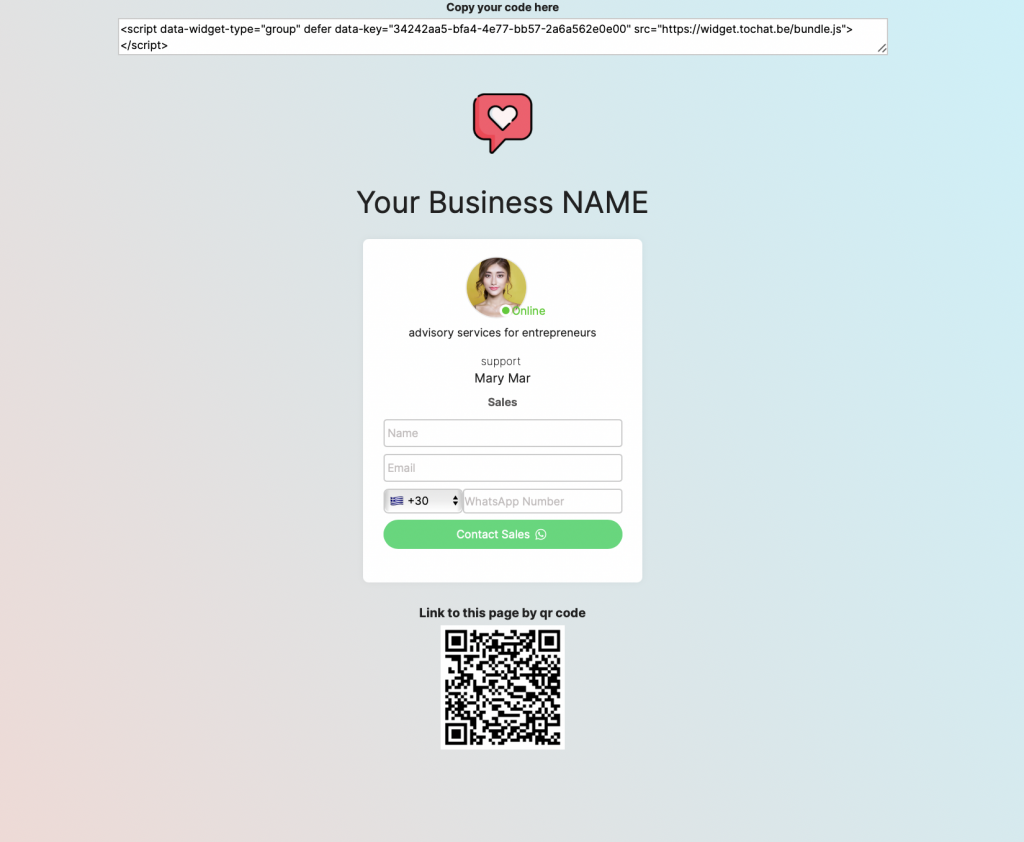
You can copy the code that appears at the top of the screen and put it on your web page.
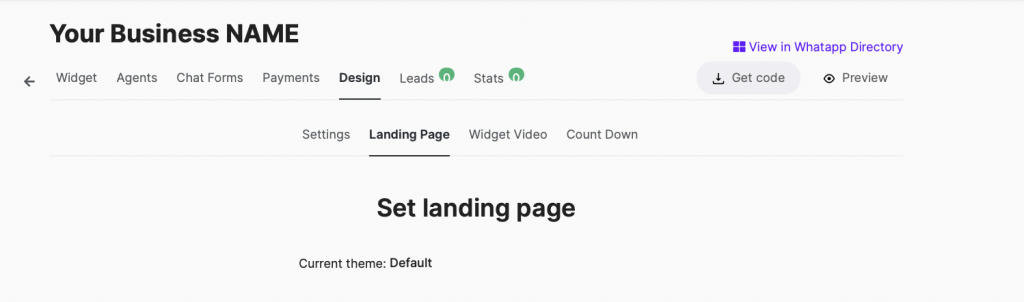
Step 4: How to edit the colors and templates of your landing page
To start we must go to the Design section and then click on Landing Page, here we can see the different themes for our landing.

Once we select one of them, we fill in the field that says Legend, where you can add new information as I show you in the following example:
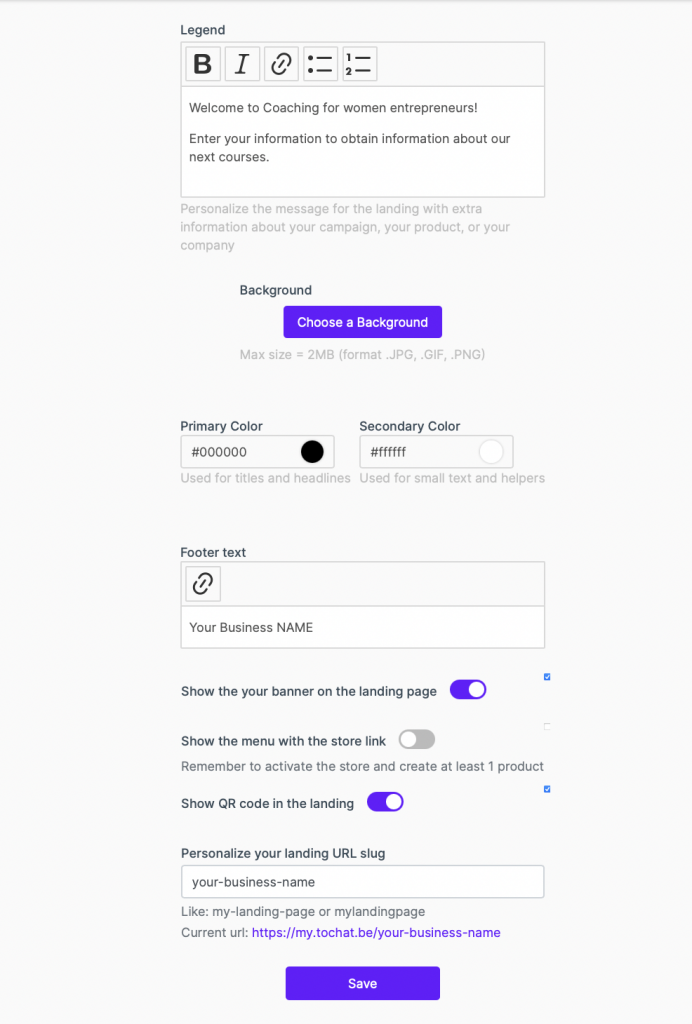
Further down, if we click on the button Choose a background, we can add a background for our landing, change the colors or do it through RGB and put the corporate colors of your company. Once we are done, click the Save button.
At the bottom of the screen we will find two links that you can copy and share in your WhatsApp campaigns.
Here you can see an example with the Light theme:
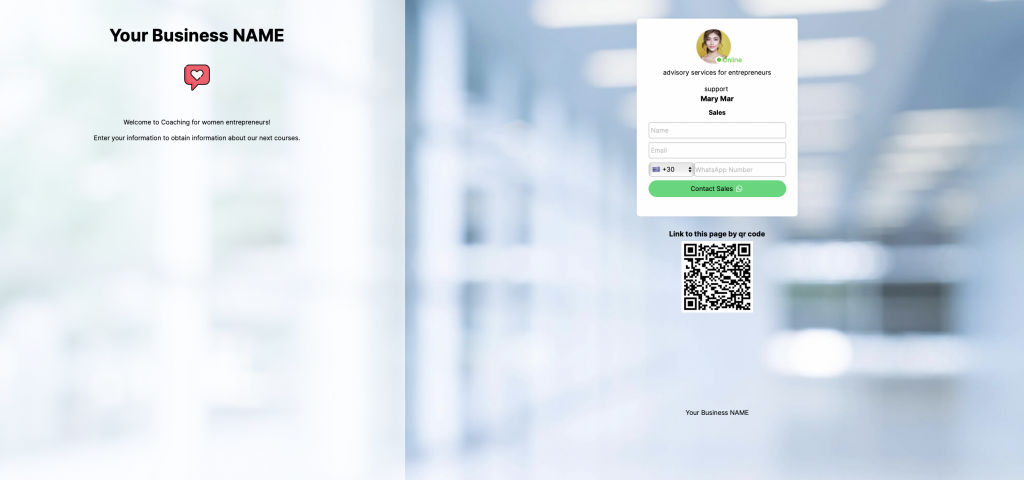
These are all the features that ChatWith.io offers you!